Tactics in False Nine Manager come in four layers: the shape, the roles, the team instructions, and what you change during the match. Each one shows on the pitch, so the best way to learn is to change one thing and watch.
The shape
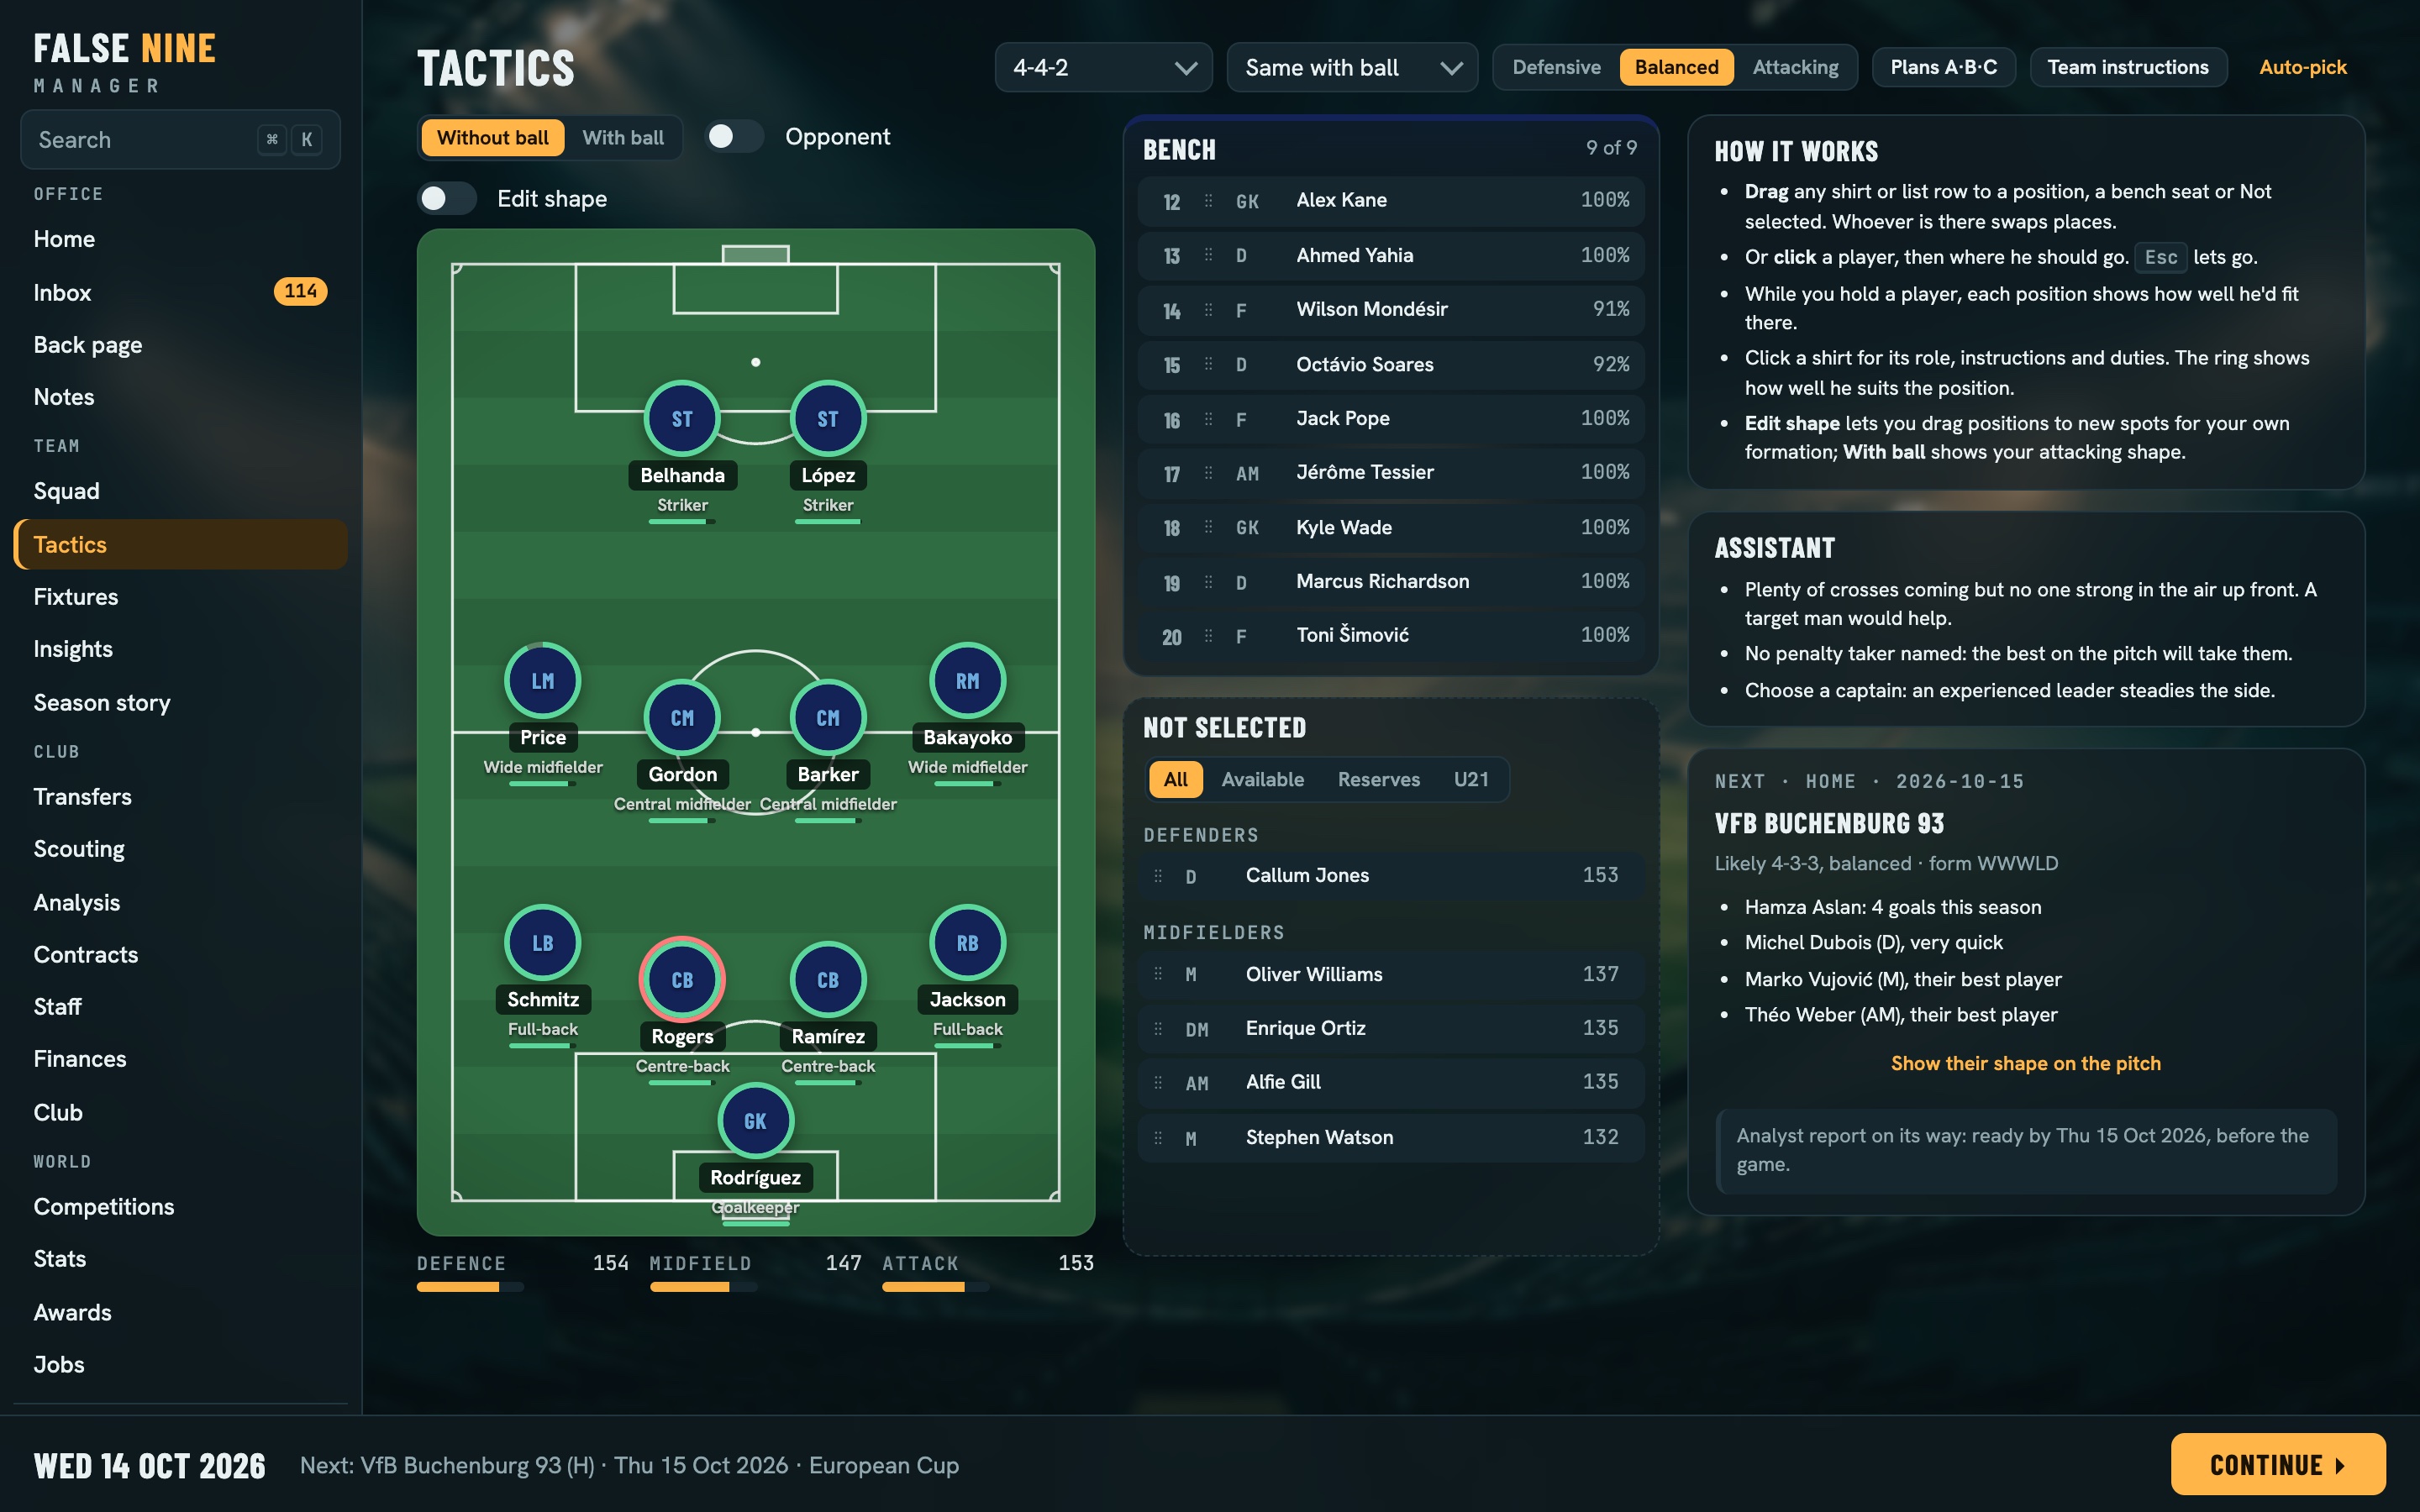
Pick a formation: 4-4-2, 4-3-3, 4-2-3-1, 4-1-4-1, 3-5-2, 5-3-2 or 4-5-1. You can then drag players to adjust it. Every formation has two versions, one without the ball and one with it, and you can see both on the tactics screen with the Without ball and With ball switch. A 4-2-3-1 might defend as a 4-4-1-1 and attack with the full-backs high and the wingers inside.
While you drag a player, every position shows how well he'd fit there. Players play best where they're used to playing; a centre-back at full-back will cope, a striker at centre-back won't.
Roles
Each position has a plain role (centre-back, full-back, central midfielder and so on) and several more specific ones. A role changes where a player goes and what he looks for, and each one depends on different attributes, so the screen shows how well each player suits it. Some that change a match most:
- Sweeper keeper
- Plays high behind the line and sweeps up balls over the top. Lets you hold a higher line, if he's quick off his line.
- Ball-playing defender
- Carries the ball out and passes into midfield and beyond. Good against teams that sit off you.
- Inverted full-back
- Moves into midfield when you have the ball, giving you an extra passer in the middle and cover against counters.
- Wing-back
- Gives you all the width, high up the touchline. Needs stamina and pace, and leaves space behind him.
- Anchor and deep-lying playmaker
- Two ways to play in front of the defence: one never leaves his post, the other dictates play with longer, forward passes.
- Mezzala
- A central midfielder who drifts into the half-space and attacks it.
- Inside forward and inverted winger
- Wide players who come inside: the first to shoot, the second to create.
- False nine
- Drops off the front line into the space between their defence and midfield. Their centre-back has to choose between following him and leaving space behind, or staying and letting him turn.
- Pressing forward, poacher, target man
- The first defender; the striker on the shoulder of the last man; the one to aim long balls at.
You can also give a player individual instructions (shoot more or less, dribble more or less, stay wide or come inside, make more or fewer runs) on top of his role.
Team instructions
These set how the whole team plays. Each has three settings, and each changes something you can see:
- Defensive line
- Deep, standard or high: how far up the pitch your back line sits without the ball. A high line squeezes the space but leaves room behind it, so it needs quick defenders.
- Pressing
- Drop off, balanced or press high: whether players close the ball down or fall back into shape, and how far up the pitch they start.
- Width
- Narrow, normal or wide: how far your team spreads when it has the ball.
- Tempo
- Patient, normal or fast: how long players keep the ball before moving it on.
- Passing
- Short, mixed or direct: the length of passes the team looks for.
- Attack
- Cautious, normal or brave: the risks taken in the final third (shots, dribbles, runs from deep).
- Tackling
- Stay on your feet, normal or get stuck in. Harder tackling wins the ball more and gives away more fouls and cards.
During the match
You can change anything at any time: the shape, roles, instructions and substitutions. Changes take effect straight away, and you can watch the team adjust.
For a quick nudge there are touchline shouts, which change how the team plays for about ten minutes and then go back to your plan: Push up, Drop deeper, Get it wide, Get it forward, Keep the ball, Go for it and Calm down.
To see what's happening, switch on the overlays above the pitch: each team's shape, the gaps between its lines, a heat map, passing, the offside line, player trails and the xG of each shot.
The analyst
Your analyst watches the last five minutes and tells you when something is going wrong, or when there's something to exploit. They look for things like:
- space between your defence and midfield, and opponents receiving the ball in it;
- balls played in behind your back line;
- the opposition attacking down one side;
- your press being played through;
- giving the ball away at the back;
- your striker cut off from the rest of the team;
- and the same in reverse: a high line you can get behind, space between their lines, a flank where you're getting joy.
Each finding has a Show me button, which draws the problem on the pitch, and a suggested fix you can apply with one click.
An example: a number 10 between your lines
You're playing a 4-4-2 against a 4-2-3-1. Their number 10 keeps receiving the ball between your midfield and defence and turning. The analyst flags it: space between your lines. Show me draws the gap, and it's fifteen metres.
The options: drop your line deeper so the gap closes from behind; switch a central midfielder to a holding role so someone sits in it; or move to a 4-1-4-1 so there's always a player there. The first is quickest, the last fixes it for good. Make the change, watch the next few minutes, and see whether the analyst is satisfied.